How to prepare a cheque?
- In main windows, select the cheque book which you like to issue cheque from.
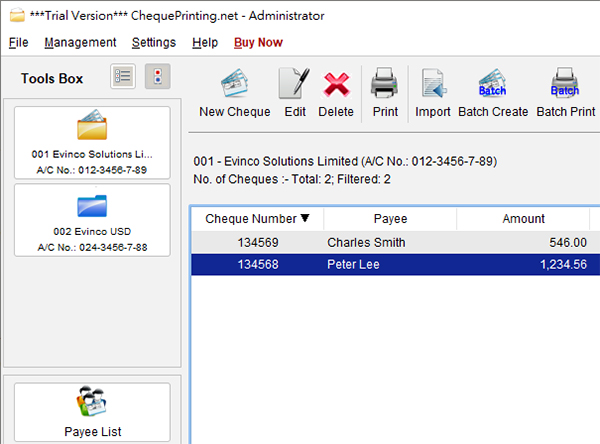
- Click the "New" icon
 in Tool Bar.
- A "Cheque" window is shown out.
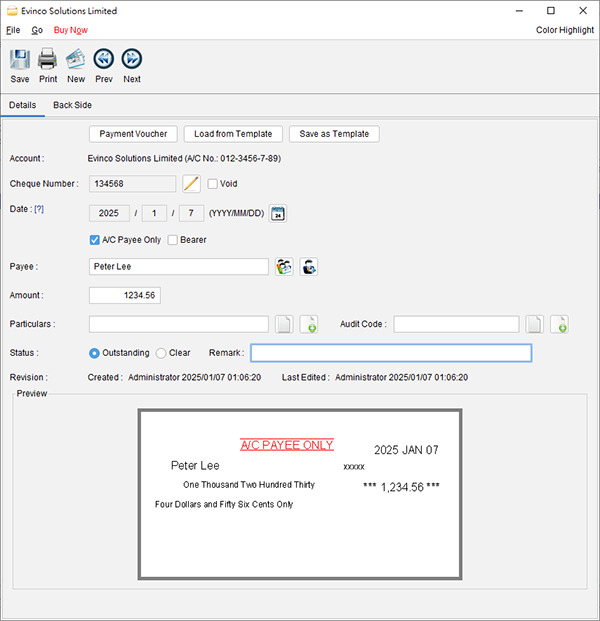
- "Account" field shows which account this cheque belongs to.
- The cheque number is assigned according to the sequence defined in the Cheque Book. But, you can click
 to override it.
- By default, "Date" will be set to Today. Click
 to choose a different date.
- You have different options specified for the cheque, like "A/C Payee Only".
If the option is not defined in the cheque template, the option will be greyed out.
- Payee can be typed directly or load from payee list by clicking
 .
.
You can also save the Payee into Payee List directly by clicking  .
.
- Amount input will be shown, in the cheque, in number and also in words.
- Particulars, Audit Code & Remark are for internal audit purpose.
These fields will not be shown in the cheque.